


Setting up a DJ console seems straightforward. You just plug in a few cables, adjust some knobs, and hit play, right? Not even close. One misplaced cable or skipped step can lead to disastrous audio fails or hours of last-minute troubleshooting. Most DJs never realize how a small detail, like cable routing or soundcheck timing, can completely transform the quality and reliability of every performance. The secrets behind a truly professional DJ workflow are much more surprising than you might think.
| Key Point | Explanation |
|---|---|
| 1. Assess equipment and venue needs | Catalog your DJ gear and evaluate performance spaces to identify limitations and create an adaptable setup strategy. |
| 2. Systematically connect and manage cables | Use a logical power management strategy and proper cable organization to ensure clean connections and reduced technical disruptions. |
| 3. Regularly configure software and hardware | Update software and hardware settings for compatibility and create performance templates to streamline your workflow for different events. |
| 4. Test audio output thoroughly | Conduct comprehensive tests of each audio connection and signal path to identify potential issues before performing live. |
| 5. Fine-tune setup before events | Arrive early to simulate performance conditions, ensuring sound quality and technical readiness for a seamless show experience. |
Successful DJ console setup begins with a comprehensive assessment of your equipment and performance space. This critical first step determines the foundation of your entire workflow, ensuring you can create seamless transitions and deliver professional performances.
Start by taking a detailed inventory of your existing DJ equipment. Catalog every component you currently own, including your primary console, laptop, audio interfaces, speakers, cables, and backup devices. Understanding exactly what you have helps you identify potential gaps or limitations in your current setup. Look for compatibility between different pieces of gear and consider any potential upgrades needed to streamline your workflow.
Carefully evaluate the physical spaces where you typically perform. Measure the dimensions of stages, booths, or event areas where you’ll be setting up your equipment. Pay close attention to available power outlets, potential cable routing paths, and sight lines for your equipment. Each venue presents unique challenges, so developing a flexible setup strategy is crucial. Some spaces might require compact, vertical arrangements, while others allow for more expansive horizontal layouts.
Consider the specific requirements of different event types you typically handle. Wedding receptions demand different equipment configurations compared to club performances or corporate events. A versatile DJ console setup workflow allows you to quickly adapt your layout to match the event’s specific needs.
 Prioritize portability and modular design when selecting or arranging your equipment to maximize your flexibility.
According to University College London’s workstation assessment guidelines, ergonomic considerations are crucial when designing your setup. Position your equipment to minimize physical strain during long performances. This means creating comfortable reach zones, ensuring proper monitor placement, and organizing cables to prevent tripping hazards.
Verify your assessment by creating a detailed equipment diagram. This visual map should include:
By meticulously assessing your equipment and potential performance environments, you transform a potentially chaotic setup process into a smooth, professional workflow that sets the stage for exceptional musical performances.
Systematic connection and arrangement of your DJ gear transforms a collection of equipment into a powerful, integrated performance system. This critical step requires precision, strategic planning, and a methodical approach to ensure seamless functionality and minimal technical disruptions during live events.
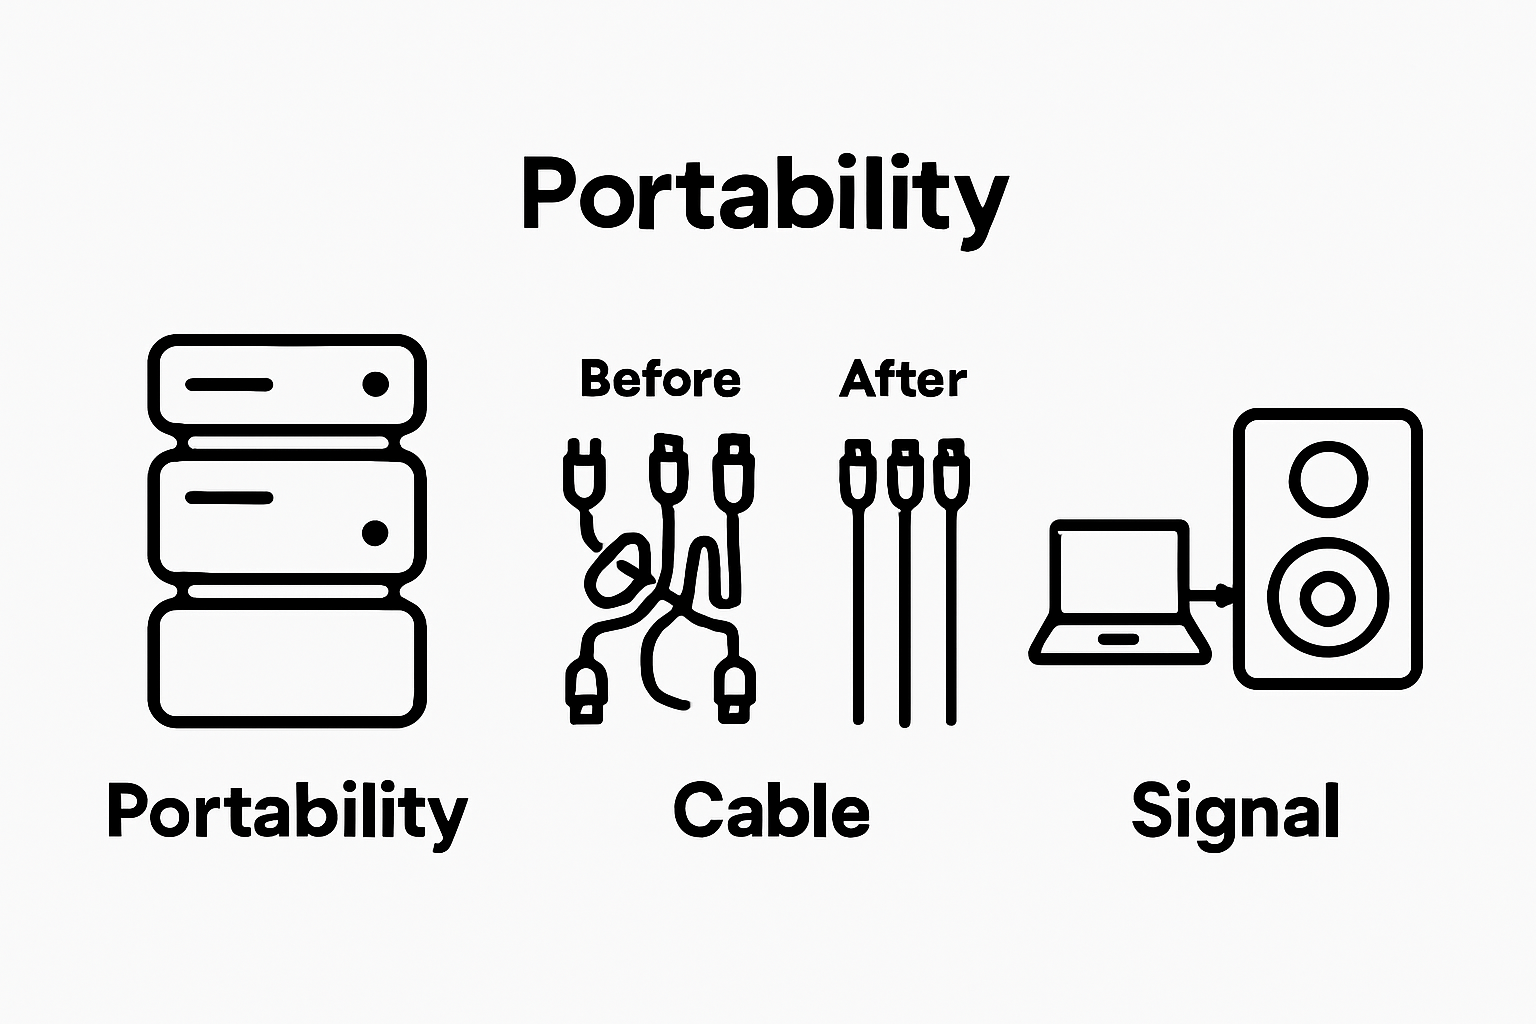
Begin by establishing a logical power management strategy. Group your equipment into primary and backup power circuits, using high-quality surge protectors and power conditioners to protect sensitive electronic gear. Position power strips strategically to minimize cable clutter and create clean, accessible connection points. Consider color-coding power cables or using cable management clips to distinguish between different equipment power sources, which reduces confusion during high-pressure setup scenarios.
Next, focus on audio signal routing with meticulous attention to detail. Connect your primary DJ console to speakers, audio interfaces, and recording equipment using balanced XLR or professional-grade TRS cables. Prioritize signal quality and minimal interference by keeping audio cables separate from power cables and using the shortest possible cable lengths. Test each connection individually, verifying clean signal transmission and checking for any unwanted noise or distortion before completing the entire setup.
Cable management becomes an art form in professional DJ setups. Use cable ties, velcro straps, and cable channels to create neat, organized pathways that prevent tangling and reduce tripping hazards. Create a systematic approach where each cable has a designated route and purpose. Consider investing in cable management accessories like flat, low-profile cables that minimize visual clutter and make your setup appear more professional.
According to the Association for Computing Machinery’s research on digital music organization, systematic arrangement is not just about physical placement but also about creating an intuitive workflow that supports creative performance. This means positioning equipment to support natural hand movements, ensuring critical controls are within easy reach, and creating a setup that feels like an extension of your musical creativity.
Verify your systematic connection by performing a comprehensive system check:
Remember that your DJ console setup workflow is a dynamic system. Regular maintenance, periodic cable replacement, and continuous refinement will help you maintain a professional, reliable performance environment that supports your musical expression.
Configuring software and hardware settings transforms your DJ equipment from standalone components into a synchronized, responsive performance system. This crucial step requires precision, patience, and a strategic approach to optimize every aspect of your digital workflow.
Start by updating all software and firmware to their latest versions. Check manufacturer websites and official support channels for the most recent releases, ensuring compatibility between your DJ console, computer, and audio interfaces. This process eliminates potential bugs, introduces performance improvements, and provides access to the newest features that can enhance your musical creativity.
Dive deep into your DJ software’s preferences and global settings. Create custom performance templates that match different event types, allowing rapid configuration switching between wedding receptions, club nights, and corporate events. Configure latency settings carefully, balancing between low-latency performance and system stability. Adjust buffer sizes to minimize audio processing delays while maintaining smooth playback. Personalize hotkeys and control mappings to create an intuitive interface that feels like a natural extension of your musical expression.
Hardware configuration demands equal attention. Calibrate audio input and output levels meticulously, ensuring consistent sound quality across different venues. Set up multiple sound profiles that can be quickly recalled based on speaker systems or room acoustics. Pay special attention to MIDI controller mappings, creating custom control schemes that optimize your specific performance style and equipment layout.
According to software engineering research exploring system configuration best practices, establishing a systematic approach to software settings is crucial for reliable performance. Document your configuration process, creating detailed notes about specific settings, performance profiles, and custom mappings. This documentation becomes invaluable when troubleshooting issues or replicating your setup across different performance environments.
Verify your configuration through comprehensive testing:
Remember that software and hardware configuration is an ongoing process. Regularly review and refine your settings, adapting to new equipment, evolving performance requirements, and emerging technological innovations. A well-configured DJ console setup workflow becomes the foundation of professional, seamless musical performances.
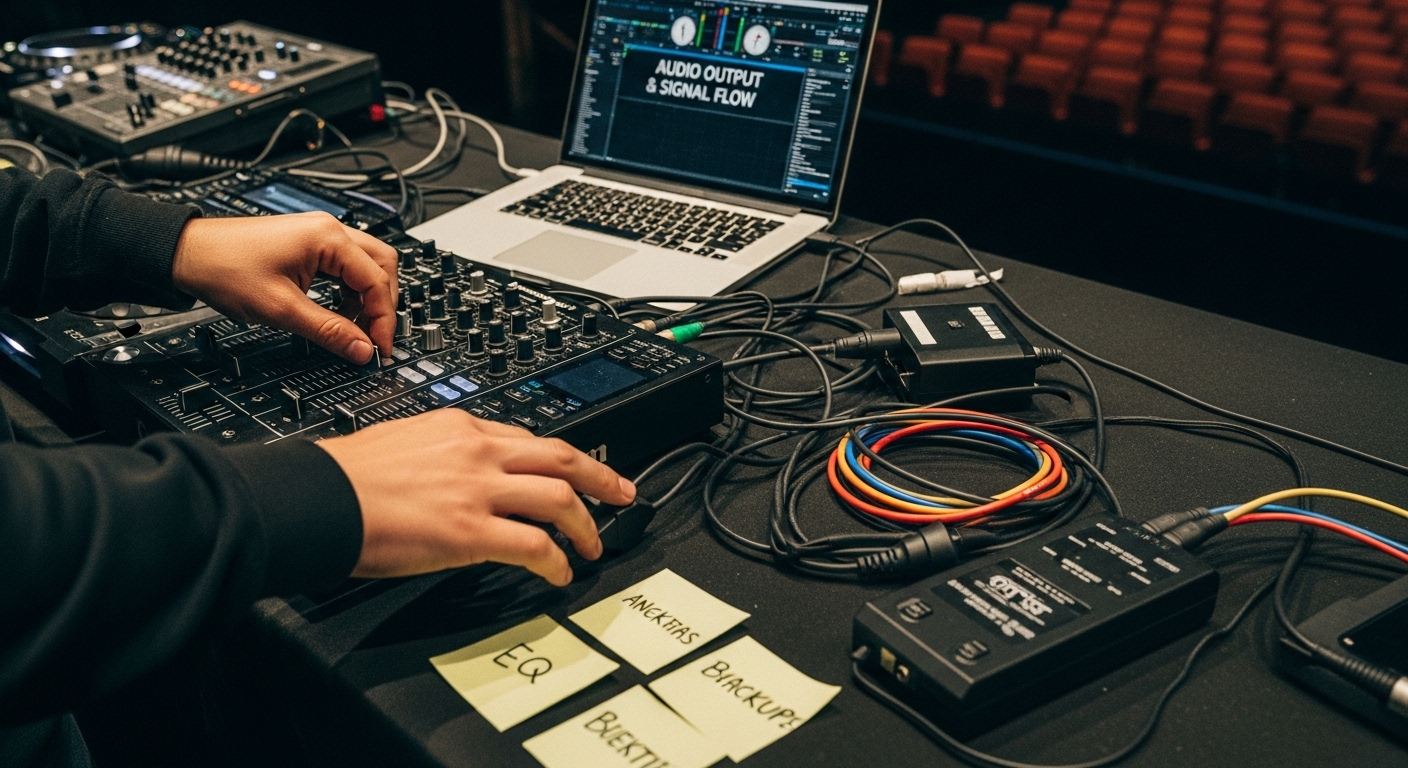
Testing audio output and signal flow represents the critical validation stage of your DJ console setup workflow. This comprehensive examination ensures that every component in your audio chain functions flawlessly, preventing potential performance disasters and guaranteeing professional sound quality.
Begin by conducting a systematic audio path test using a methodical, staged approach. Start with your primary audio source, typically your DJ console or laptop, and progressively verify each connection point. Play a consistent, high-quality test track that covers multiple frequency ranges. Listen carefully for any distortion, unwanted noise, or signal dropouts. Pay special attention to stereo imaging, checking that left and right channels are balanced and accurately representing the original recording.
Carefully monitor signal levels across your entire audio system. Use your mixer or audio interface’s built-in meters to ensure signals are hitting the optimal range without clipping or falling too low. Adjust gain staging meticulously, aiming to maintain signals between 0 and 6 decibels. This sweet spot provides maximum headroom while preventing distortion. Test each input channel independently, verifying that volume controls respond smoothly and predictably across their entire range.
Cross-check your audio routing by creating complex signal paths that simulate real performance scenarios. Route audio through different channels, apply effects, and switch between input sources rapidly. This stress test reveals potential weak points in your signal flow that might not be apparent during initial setup. Simulate sudden transitions, quick effect applications, and abrupt source changes to ensure your system responds consistently under performance pressure.
According to signal flow research on audio system design, understanding the complete signal path is crucial for maintaining audio integrity. Use high-quality audio cables and minimize signal path complexity to reduce potential interference points.
Verify your audio output through comprehensive testing:
Remember that audio testing is not a one-time event but an ongoing process. Regularly reassess your signal flow, especially before critical performances. A meticulously tested DJ console setup becomes your foundation for delivering consistently exceptional musical experiences.
Verifying and fine-tuning your DJ console setup represents the final critical checkpoint before delivering a professional performance. This meticulous preparation transforms potential technical uncertainties into a reliable, seamless musical experience that demonstrates your technical expertise and professional commitment.
Conduct a comprehensive soundcheck that simulates actual performance conditions. Arrive at the venue significantly earlier than your scheduled start time, allowing ample opportunity to assess the acoustic environment and make necessary adjustments. Test your equipment in the precise location where you will perform, paying close attention to how sound reflects off walls, interacts with room geometry, and responds to different volume levels. This detailed exploration helps you understand the unique sonic characteristics of each performance space.
Systematically verify every technical component of your setup. Check power connections, ensuring backup power sources are fully charged and readily accessible. Test all cables for secure connections, looking for any signs of wear or potential failure points. Create a portable emergency kit containing spare cables, adapters, and critical backup equipment. This preparedness transforms potential technical challenges into manageable moments that barely interrupt your performance flow.
Fine-tune your audio settings to match the specific venue’s acoustic profile. Adjust equalization, apply subtle sound processing, and calibrate speaker positioning to optimize audio clarity and coverage. Consider the audience size, room shape, and potential sound absorption materials. Your goal is to create a balanced, immersive sound experience that feels natural and engaging, regardless of the performance environment.
According to technical event planning guidelines from the University of Nevada, Las Vegas, conducting thorough technical rehearsals is essential for identifying and resolving potential issues before they impact your performance. This approach minimizes unexpected complications and demonstrates professional preparedness.
Verify your setup through a comprehensive pre-event checklist:
Remember that fine-tuning is an ongoing process. Stay flexible, remain observant, and be prepared to make real-time adjustments. Your ability to seamlessly adapt your DJ console setup workflow demonstrates true professional mastery, turning technical preparation into an art form that elevates your musical performance.
Below is a checklist table to help you verify and fine-tune your DJ console setup before the event, ensuring nothing is overlooked and that your system is ready for a seamless performance.
| Verification Task | Purpose | Status (Check/Note) |
|---|---|---|
| Test all audio inputs and outputs | Ensure every sound source functions | |
| Confirm backup equipment functionality | Guarantee availability during emergencies | |
| Check power and cable connections | Prevent power issues and audio dropouts | |
| Validate sound quality in venue | Match audio to room acoustics | |
| Ensure software and firmware are current | Maintain compatibility and reliability | |
| Inspect cables for wear | Prevent unexpected connection failures | |
| Prepare emergency kit (spare parts) | Quickly resolve on-site problems |
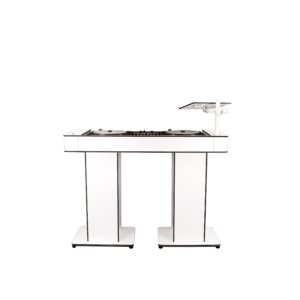
Struggling to achieve a smooth DJ setup that supports both your creativity and the demands of every event? As highlighted in the article, many professionals face challenges with incompatible equipment, complicated workflows, and unreliable gear that can break the flow of your performance. You want a seamless setup that is easy to assemble, adapts to any environment, and is built to last. Imagine stepping up to your event station knowing your DJ console and accessories are crafted for intuitive layouts and proven durability.
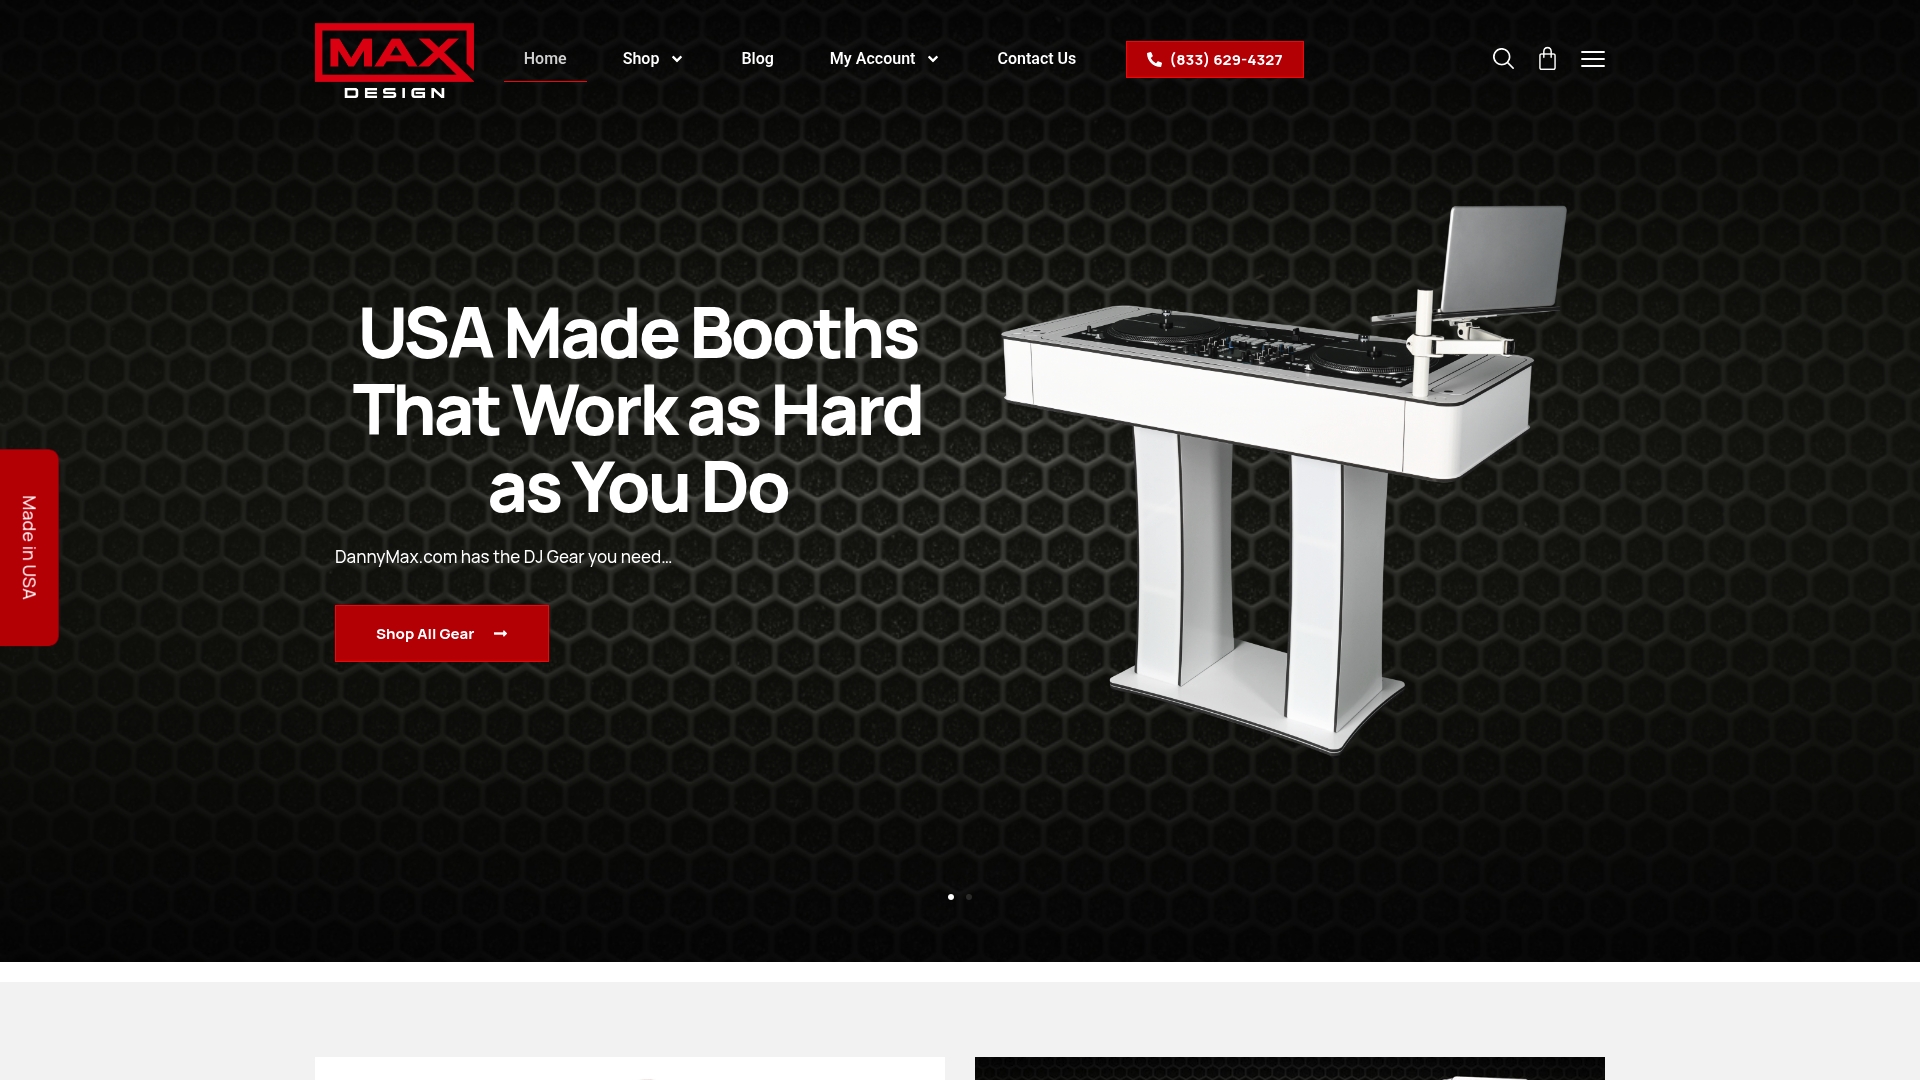
Do not let technical uncertainty hold you back from truly professional performances. Upgrade your live rig with USA-made DJ consoles and accessories known for their portability, strength, and flawless design. Visit dannymax.com today and explore solutions like the Infinity DJ Console that simplify complex workflows and deliver on the promise of reliable, high-end event experiences. Transform your preparation time and ensure every event starts and ends with confidence. The perfect setup is waiting for you now.
Start by taking a detailed inventory of your existing equipment, including your DJ console, laptop, audio interfaces, speakers, cables, and backup devices. Measure the performance space to account for dimensions, available power outlets, and cable routing paths, and consider the specific requirements of different event types.
Establish a logical power management strategy using high-quality surge protectors, group equipment into primary and backup circuits, and minimize cable clutter. For audio signal routing, use balanced cables, keep audio and power cables separate, and position equipment to support natural hand movements.
Update all software and firmware to their latest versions, create custom performance templates for different event types, and meticulously calibrate audio levels. Personalize hotkeys and control mappings to enhance your workflow and ensure smooth operation during performances.
Conduct a systematic audio path test using a consistent test track, monitor signal levels, and perform gain staging. Cross-check audio routing by simulating real performance scenarios. Ensure all cables are secure and use high-quality audio cables to maintain signal integrity.
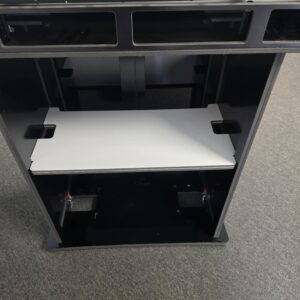
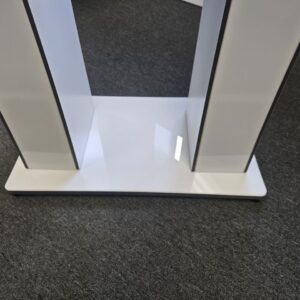


![]() Our product is made right here in Newark, Delaware U.S.A.
Our product is made right here in Newark, Delaware U.S.A.